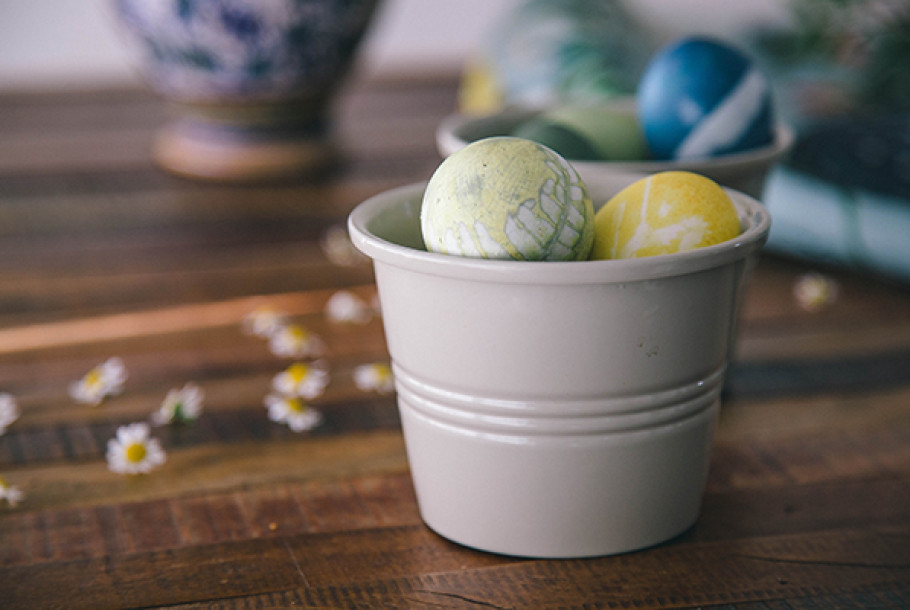
Naturally Dyed Easter Eggs with Floralia
 Floralia is a Hemmingford, QC based floral company using local, seasonal and ethically grown flowers to create gorgeous one-off bouquets and arrangements for weddings and events.
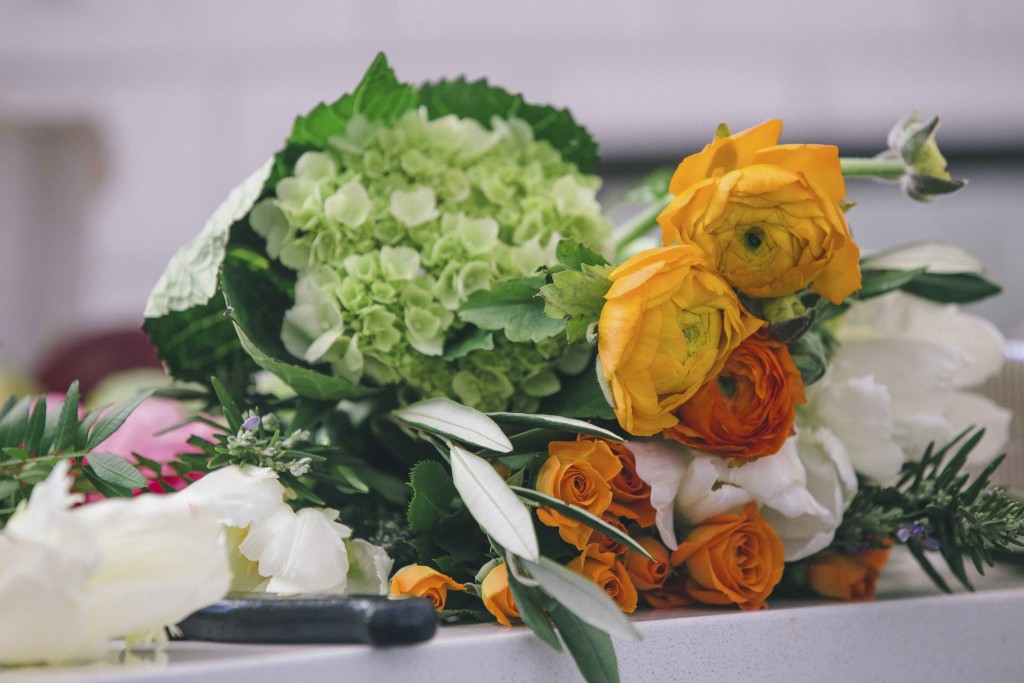 Caroline Boyce, the creative force behind Floralia, arranges her flowers in loose bouquets reminiscent of old English gardens and pretty meadows. Think wild and abundant flowers with bohemian elegance. Sounds lovely, doesn’t it.
 To buy a bouquet, sign up to their mailing list and they will let you know when their bouquets are available which happens spontaneously throughout the year, but mostly during the summer. Delivery is available to destinations listed in their online map. Their Easter bouquet is available now for order.
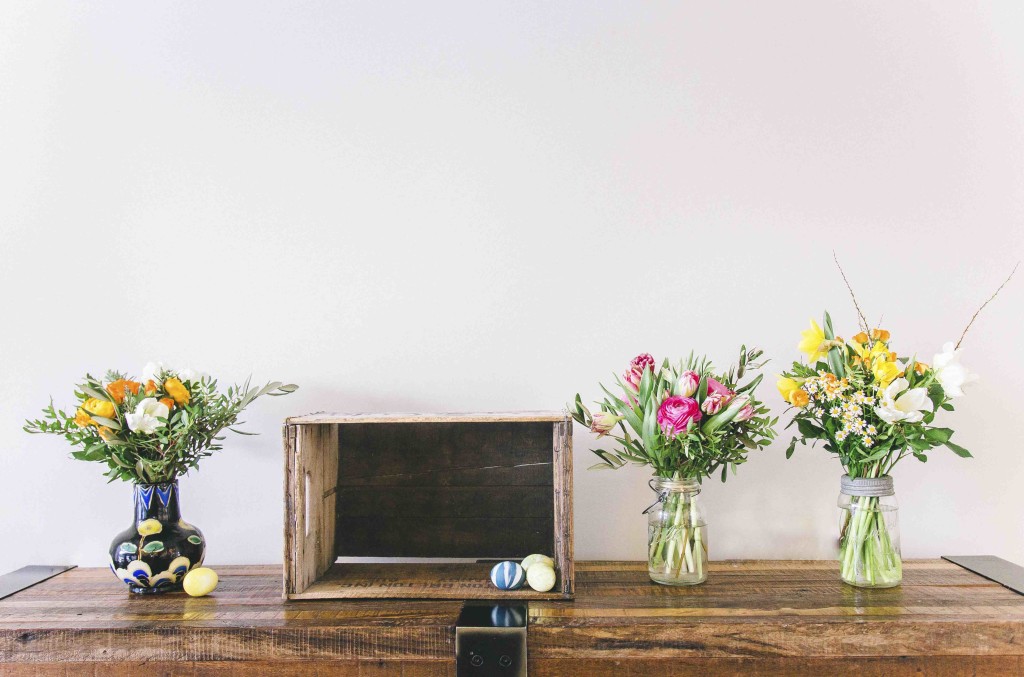 They also do workshops at Galerie-Co in Montreal so you can have a hand at trying it out yourself.

I’ll be letting you guys know more about Floralia at a later date, but for Easter Caroline has provided Roasted with a wonderful tutorial for naturally dying Easter eggs.
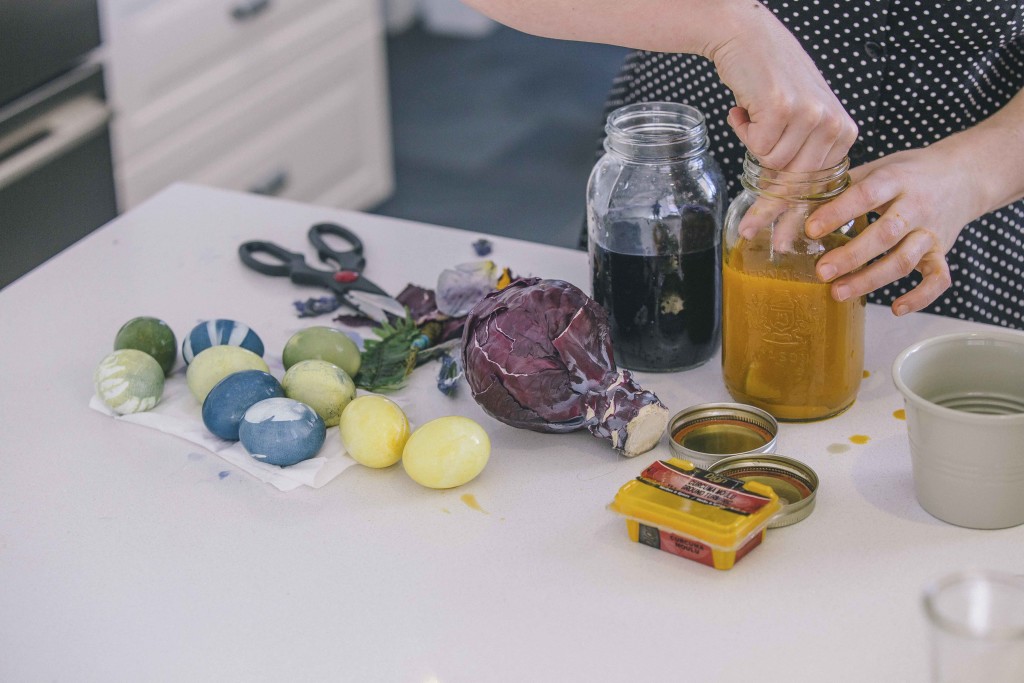 This is such an easy craft, especially with kids, and I love the fact that you are using stuff you already have on hand. Plus, it’s really like magic to see something like a plain old red cabbage turn an egg into something beautiful. Flower petals and leaves are also used to create pretty little prints.
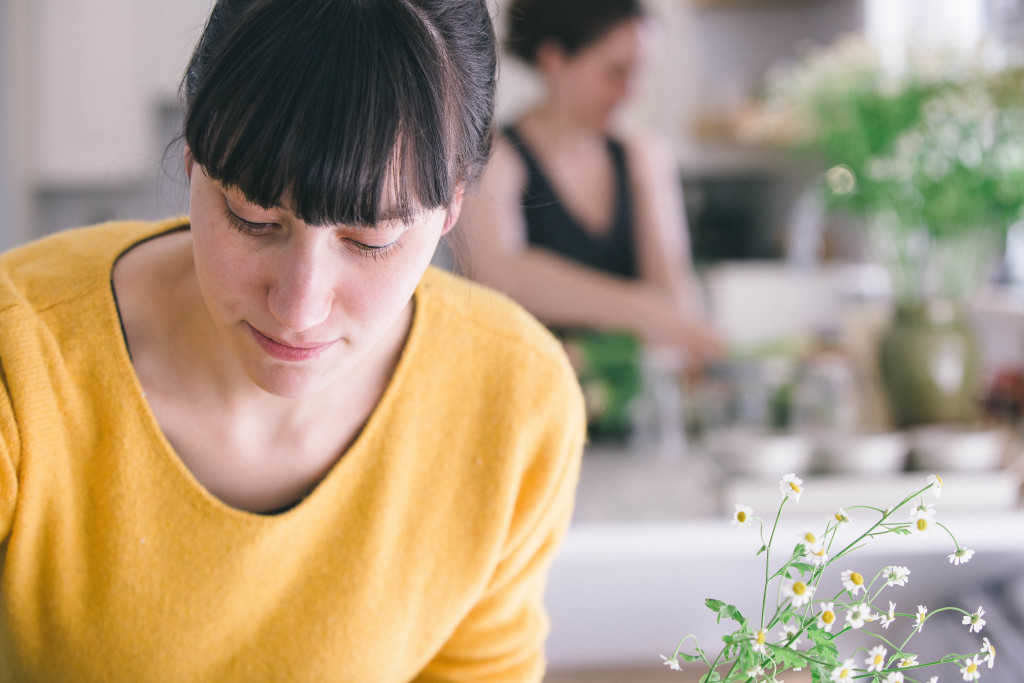 If you do want to do this with kids, I recommend starting a little in advance and cooking the eggs before hand so that they are cool and ready to go for the dying stage.
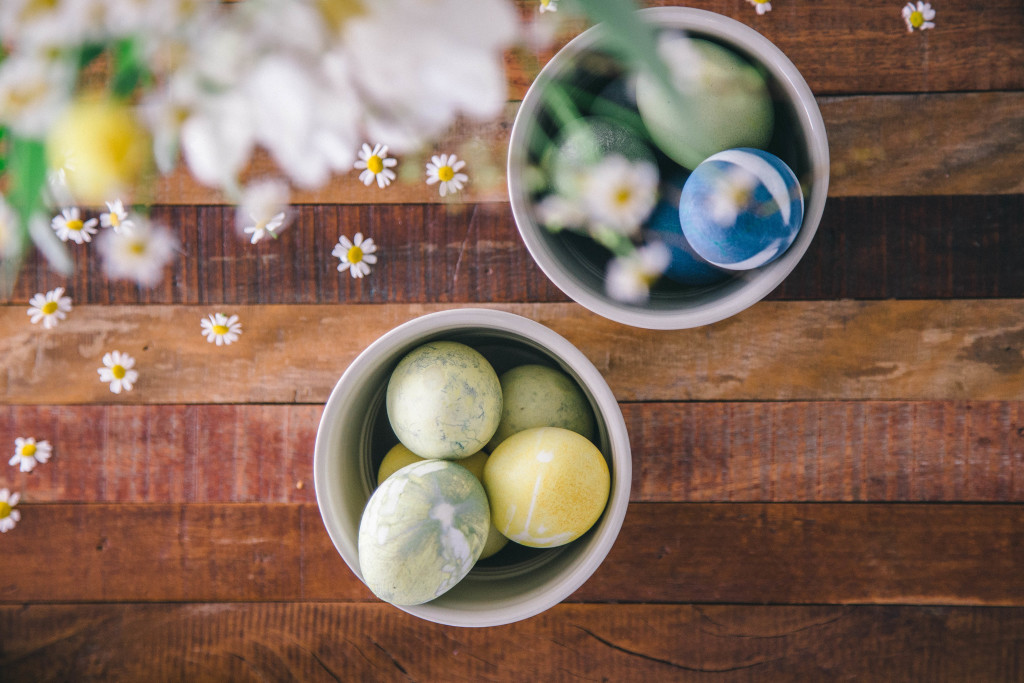
(Please note that a printable version is below)
Naturally Dyed Easter Eggs with Caroline Boyce of Floralia
Ingredients:
7 eggs, cooked (ideally white and without the date stamp, brown work as well but the colours aren’t as vibrant)
4 tbsp vinegar plus more for cleaning the eggs
3 cups water
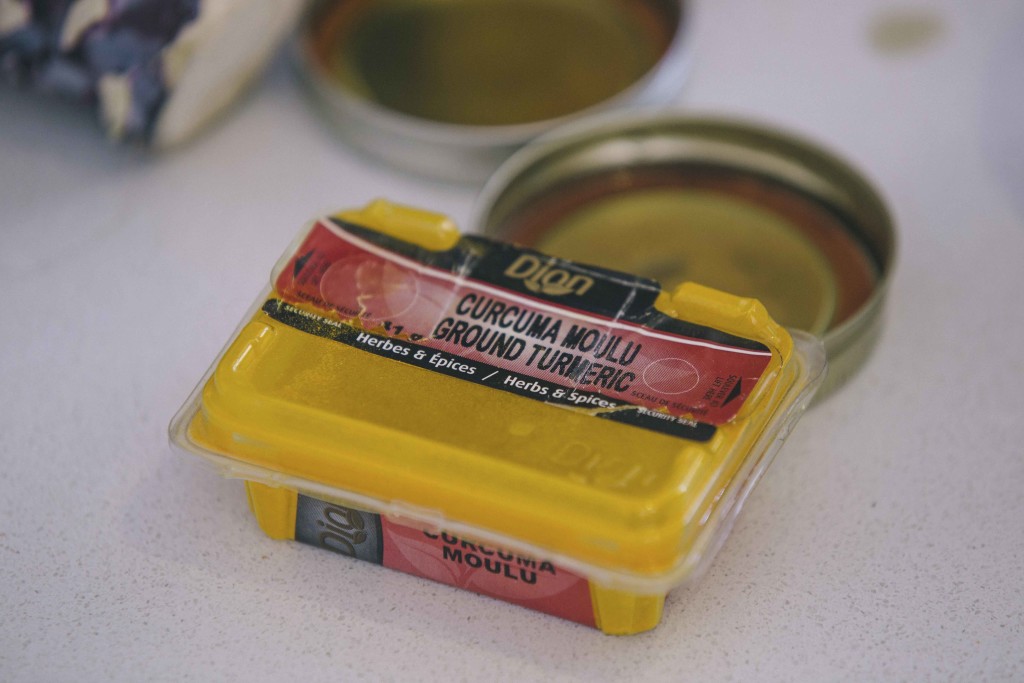
1/4 head red cabbage or 6-8 tbsp turmeric for dying
Fresh cut flowers, herbs, bits of house plants, etc. to create the print
Steel or aluminum pot for boiling dye liquid (ceramic will stain)
cheese cloth or old pantyhose
elastics (the little clear disposable ones for hair work well)
1L mason jar
Instructions:
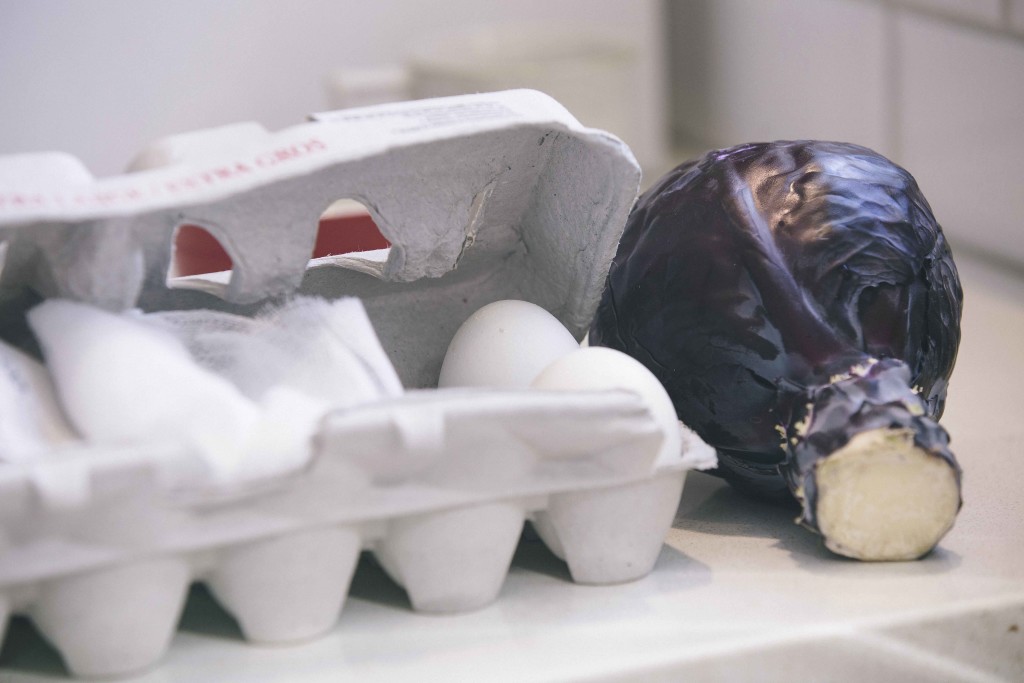 Boil eggs so that they are hard cooked. Let cool completely.
Pour a little vinegar on a cloth and use this to rub the eggs clean. The vinegar also helps the dye to penetrate the eggshell.
Bring the water to a boil with the dye ingredient of your choice. Leave it on a hard boil for 3-5 minutes and then let simmer for 15-30 minutes.
Add the 4tbsp vinegar to the mixture. Let cool and strain.
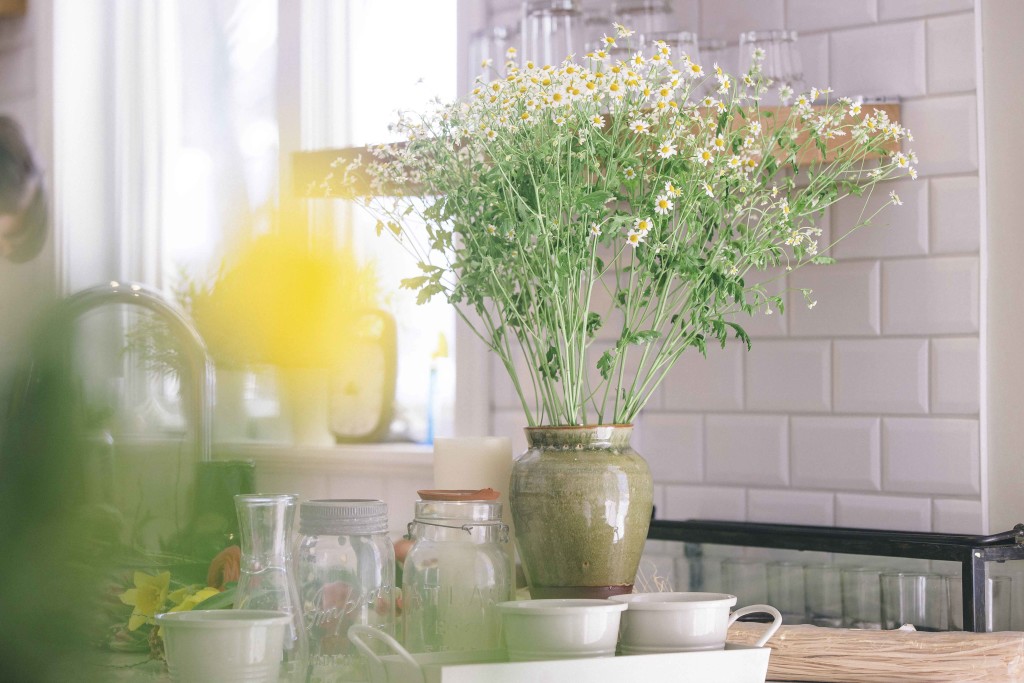 While the mixture is cooling, cut up the flowers, leaves or herbs you’d like to use to create the print on the eggs. In this tutorial, chamomile and different flowers from a bouquet that was on hand were used.
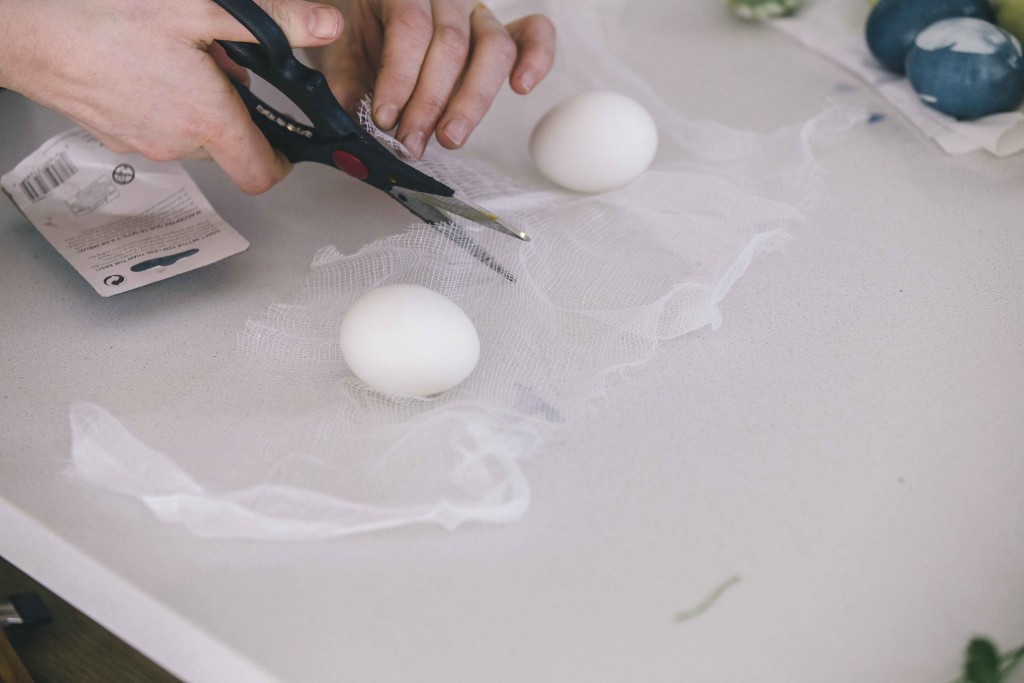 Cut the cheesecloth or pantyhose so that it easily covers an egg.
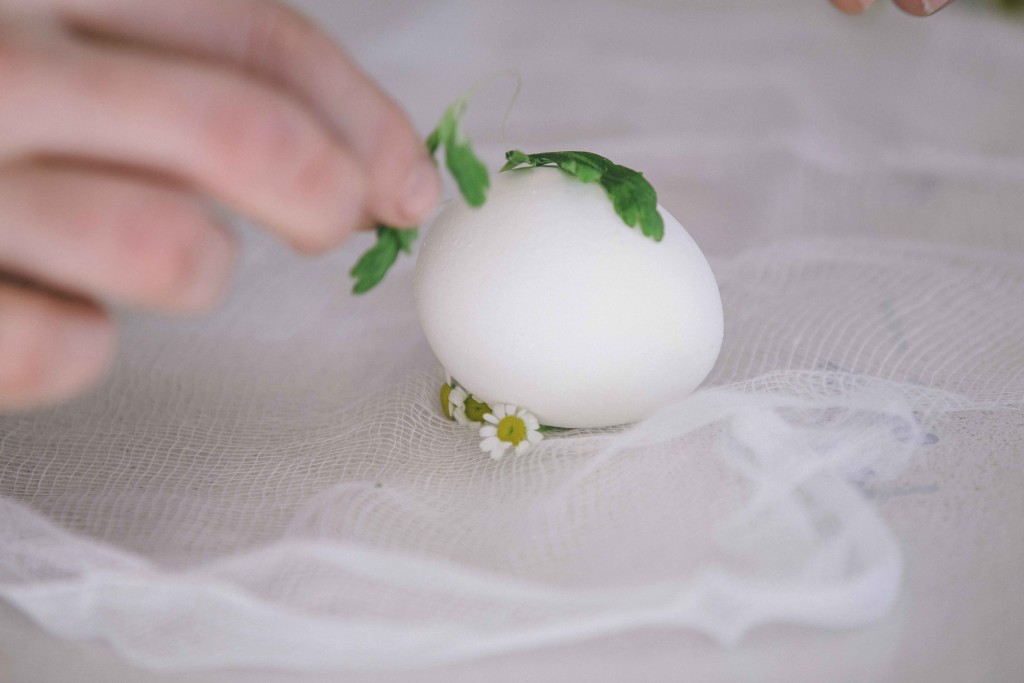
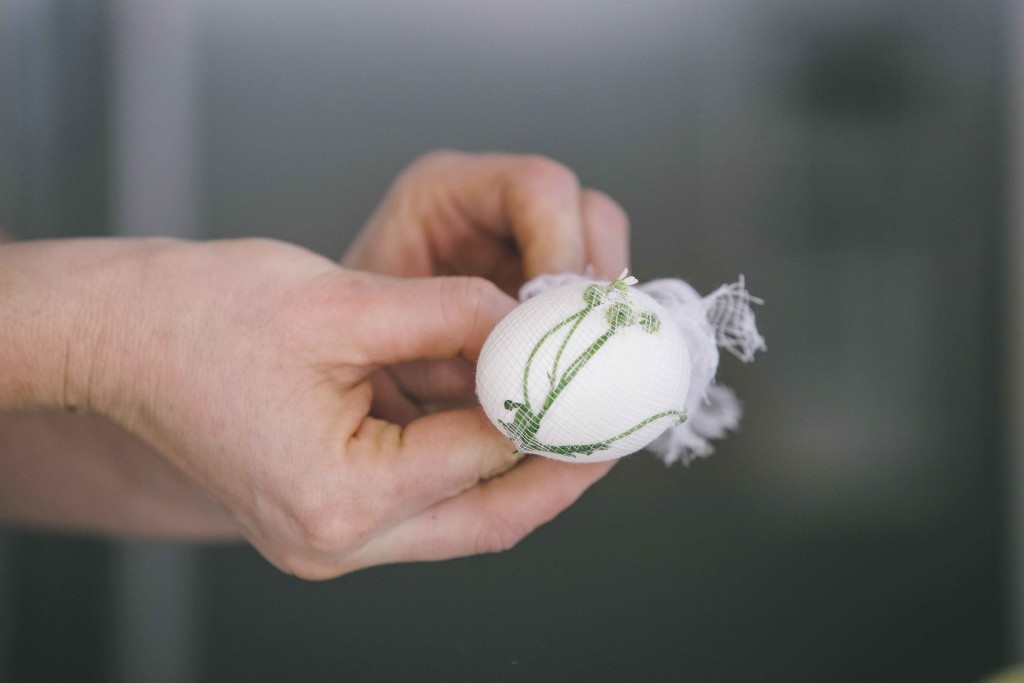
Place the flower or herb you’d like to use to create the print on the egg and cover with the cheesecloth or pantyhose. Use the elastic to tie the cloth tightly. Pull the cloth against the elastic to make it as tight as possible.
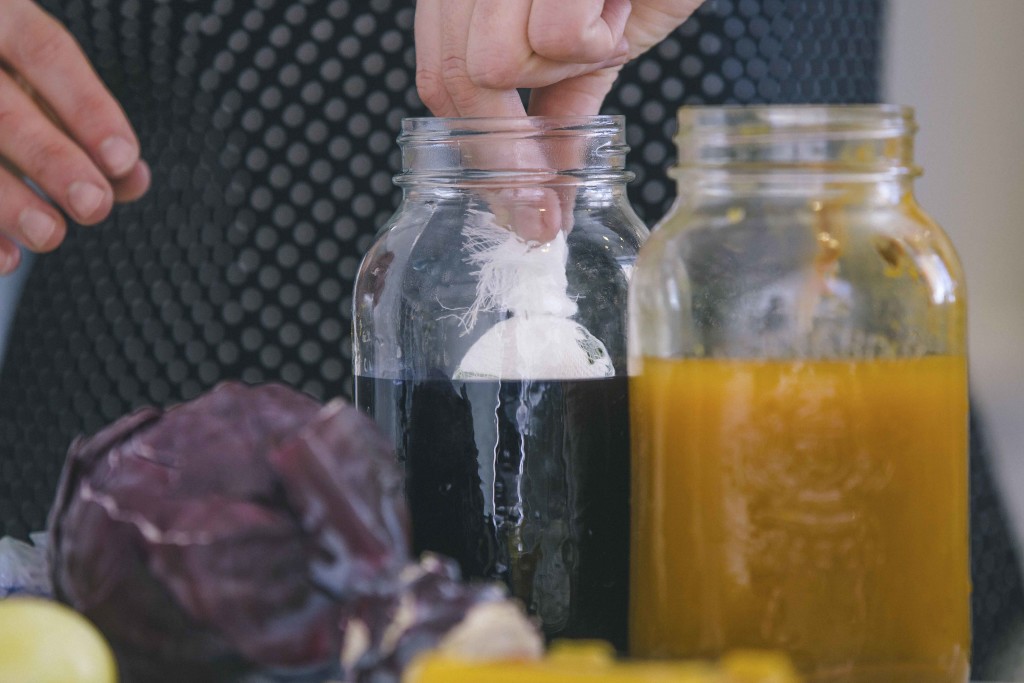 Place each egg in the mason jar. Fill the jar with the cooled dye liquid.
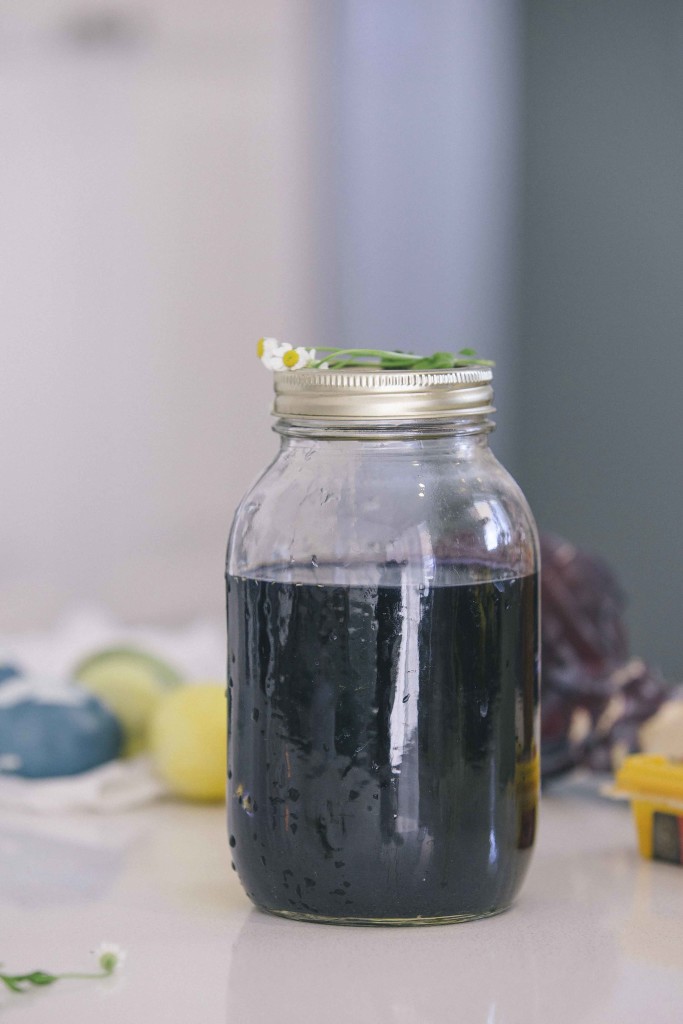 Cover with a lid and leave overnight to dye.
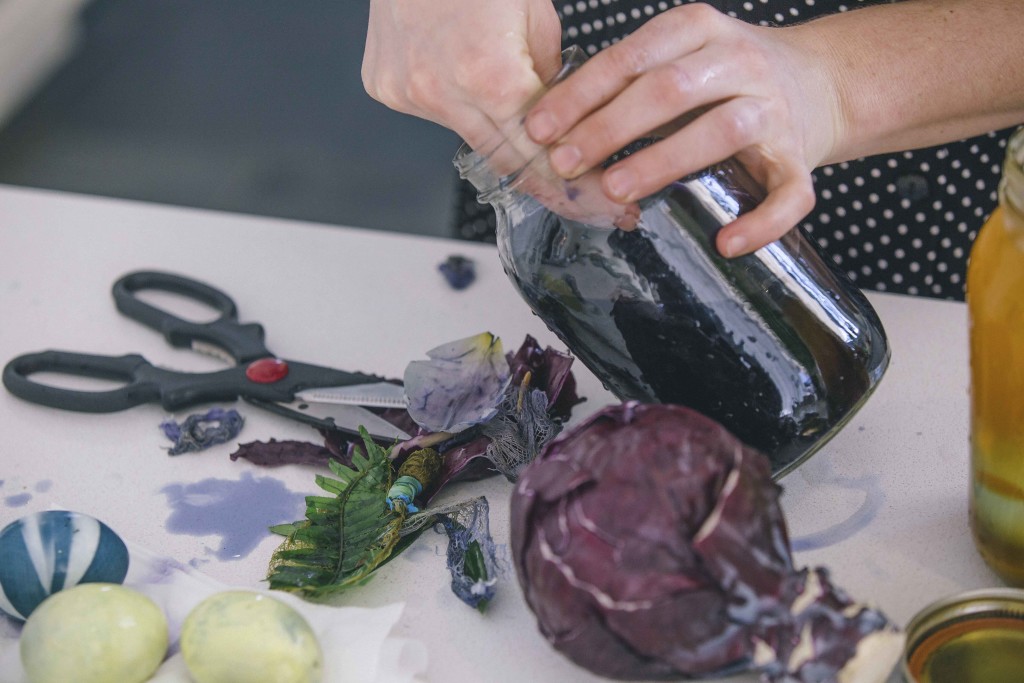
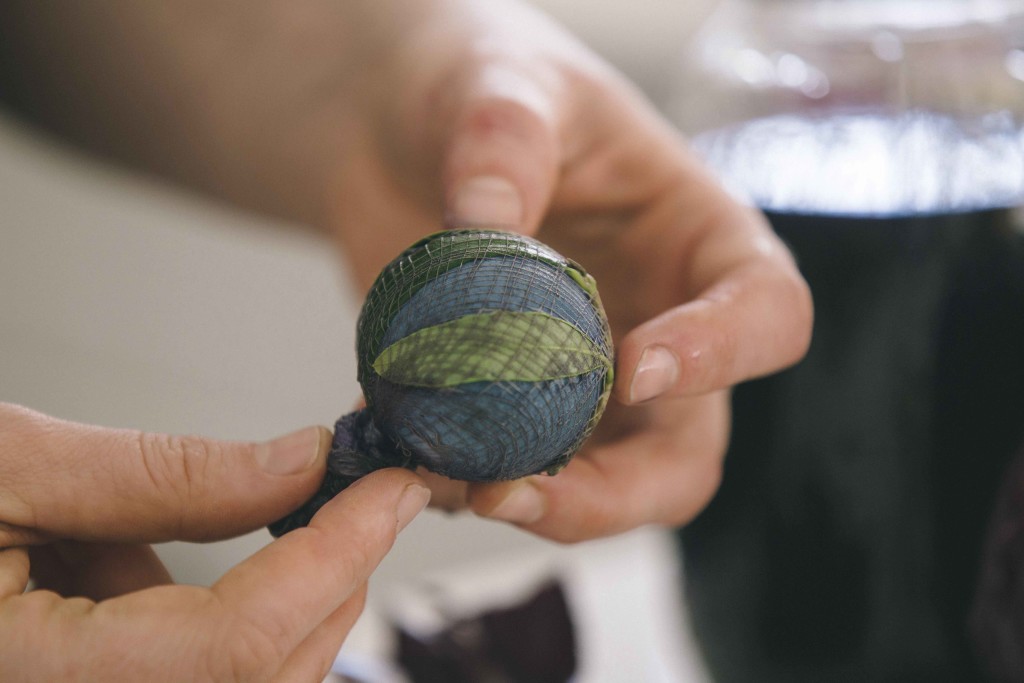
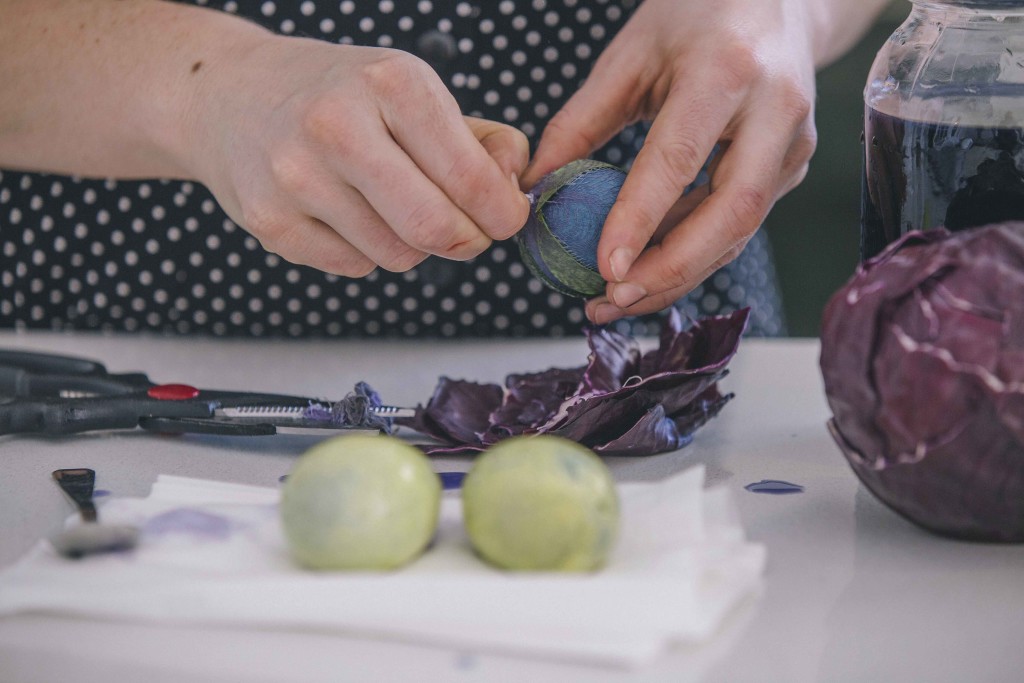
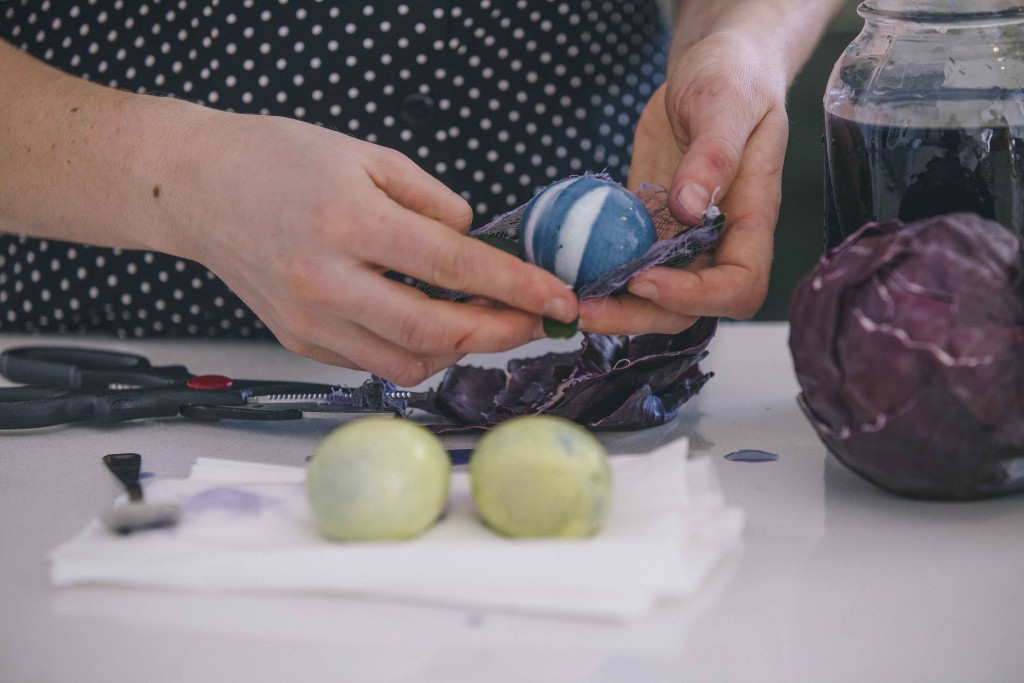 In the morning remove the elastic and cloth, rinse the eggs and let them dry on paper towel.
Note: If you spill any of the dye clean it immediately as it can cause stains.
 Tips:
Tips:
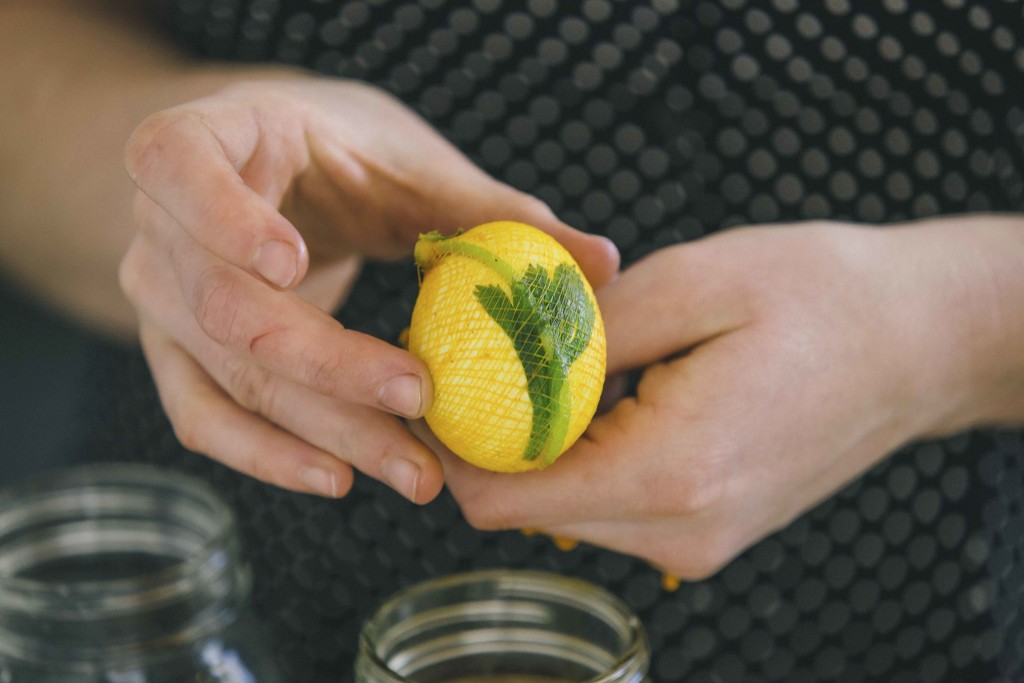
To get other colours just mix different ingredients. For example, turmeric and red cabbage make a green dye.
 Natural dyes don’t always result in the same intensity. One time your yellow may be much deeper than others. It’s part of the surprise that comes with dying with natural dyes.
Other natural dye options:
Orange: Onion skins- 8-9 onion skins
Jade Green: Red onions, 8-9 onion skins
Pink: Hibiscus tea – ½ cup
Brown: Coffee, ½-1 cup (more coffee creates a darker shade)
Light Pink: Beets, 1 beet cut in cubes (don’t simmer)
- 7 eggs, cooked (ideally white and without the date stamp, brown work as well but the colours aren't as vibrant)
- 4 tbsp vinegar plus more for cleaning the eggs
- 3 cups water
- ¼ head red cabbage or 6-8 tbsp turmeric for dying
- Fresh cut flowers, herbs, bits of house plants, etc. to create the print
- Steel or aluminum pot for boiling dye liquid (ceramic will stain)
- cheese cloth or old pantyhose
- elastics (the little clear disposable ones for hair work well)
- 1L mason jar
- Boil eggs so that they are hard cooked. Let cool completely.
- Pour a little vinegar on a cloth and use this to rub the eggs clean. The vinegar also helps the dye to penetrate the eggshell.
- Bring the water to a boil with the dye ingredient of your choice. Leave it on a hard boil for 3-5 minutes and then let simmer for 15-30 minutes.
- Add the 4tbsp vinegar to the mixture. Let cool and strain.
- While the mixture is cooling, cut up the flowers, leaves or herbs you’d like to use to create the print on the eggs.
- Cut the cheesecloth or pantyhose so that it easily covers an egg.
- Place the flower or herb you’d like to use to create the print on the egg and cover with the cheesecloth or pantyhose. Use the elastic to tie the cloth tightly. Pull the cloth against the elastic to make it as tight as possible.
- Place each egg in the mason jar. Fill the jar with the cooled dye liquid. Cover with a lid and leave overnight to dye. In the morning remove the elastic and cloth, rinse the eggs and let them dry on paper towel.
To get other colours just mix different ingredients. For example, turmeric and red cabbage make a green dye.
Natural dyes don’t always result in the same intensity. One time your yellow may be much deeper than others. It’s part of the surprise that comes with dying with natural dyes.
Other natural dye options:
Orange: Onion skins- 8-9 onion skins
Jade Green: Red onions, 8-9 onion skins
Pink: Hibiscus tea - ½ cup
Brown: Coffee, ½-1 cup (more coffee creates a darker shade)
Light Pink: Beets, 1 beet cut in cubes (don’t simmer)
Remember to check out Floralia for their gorgeous bouquets and workshops.
All photos for the tutorial were taken using items from Galerie-Co. All photographs are by Melodie Hoareau.
ps Looking for something edible? Try my simple Easter frozen yoghurt shapes.
Leave a Comment cancel












This is so cool! I was just contemplating dying Easter eggs with my mom 😉
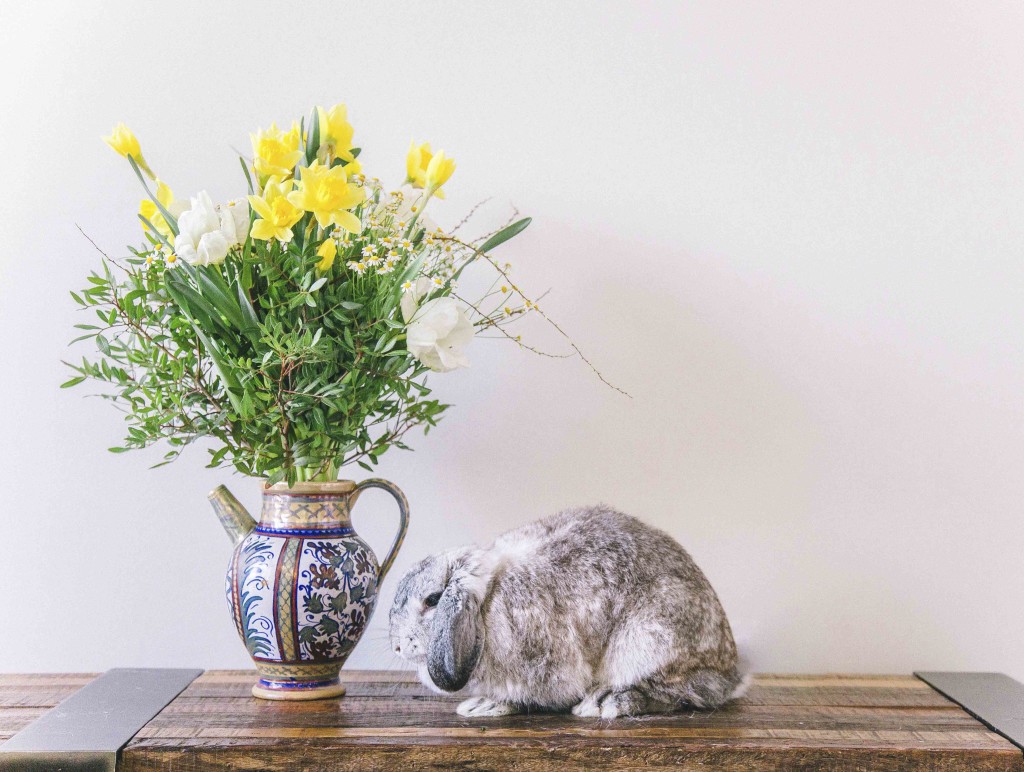
Also, is that a real bunny in that photo above? He’s sitting so still…
’tis my friend, ’tis.
ps I didn’t take the pics 🙂